Before you move forward with painting your linoleum or tile floor, make sure you’ve read and made the preparations from the Part 1.
If you’ve read the previous post, we are excited you are ready to get started! You’ve purchased the supplies, cut the template, and selected the pattern.
Below are steps and all the detailed information you will need to complete the project.
1.) Clean the floor well. Make sure you have a surface completely clean from debris before you get started.
2.) Prime the floor. This step is extremely important and will make the floor less likely to chip. The primer creates a surface that allows the paint to cling to it.
3.) Paint floor with the base color. I chose to paint the base with the lighter of the two colors, but if I had to do it all over again, I would paint the base the darker of the two colors. Allow this coat to dry overnight.
4.) Get the following supplies ready: the stencil (I suggest having two of them), stencil brush, stencil paint, and Frog Tape, and a surface to “stencil-off” excess paint.
4.) If you are working with a tile that already has grout lines or a linoleum that has faux grout lines, follow this next step. (If you have just a flat linoleum with no pre-determined “grout lines” skip to step 5.)
- Find the tile that is a full size, closest to the back of the room. Place the stencil on the tile and square it up on the tile as best as you can, closely following the predetermined grout lines.
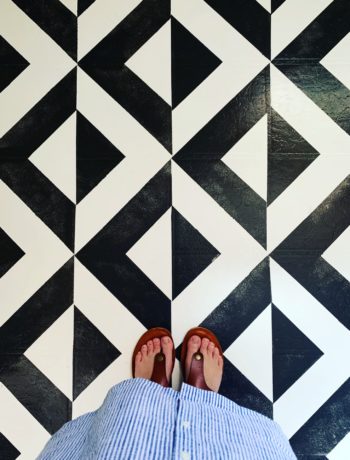
5.) If step 4 applies to you, you can skip this step. If don’t have any lines to follow, you are free to start your design wherever you’d like. I recommend drawing guide lines with a pencil based upon the tile size you chose. This will keep your design straight and square. For example, if you chose an 8 X 8 tile, you would draw horizontal and vertical lines every 8 inches. Once you have your lines, start the stencil in one corner. Follow the next steps.
6.) Get a little bit of paint on your stencil brush, but brush off the excess. It is better for your brush to be a little too dry than too wet. If it’s too wet, the paint will seep under your stencil.
7.) Start stenciling in the center of the opening, and when you get to the sides, push your brush slightly towards the center, as opposed to towards the line. If you put too much pressure on the line, the paint will seep underneath it.
8.) Carefully remove the stencil and allow it to dry a few minutes before moving on to the next one.
9.) I like to work in diagonals, and alternate between stencils. This allows one stencil to dry while you’re using the other. You avoid accidentally getting wet paint from a stencil on the floor. When working in diagonals, make sure that you are following the pattern you chose. This can be tricky!
10.) Try to complete all the tiles that face that one particular direction. Depending upon your design, you may flip the stencil over, but you will want to only do that once the stencil is completely dry, or you’re using another stencil. Here is an example of painting one side of the stencil on my floor, in a diagonal.
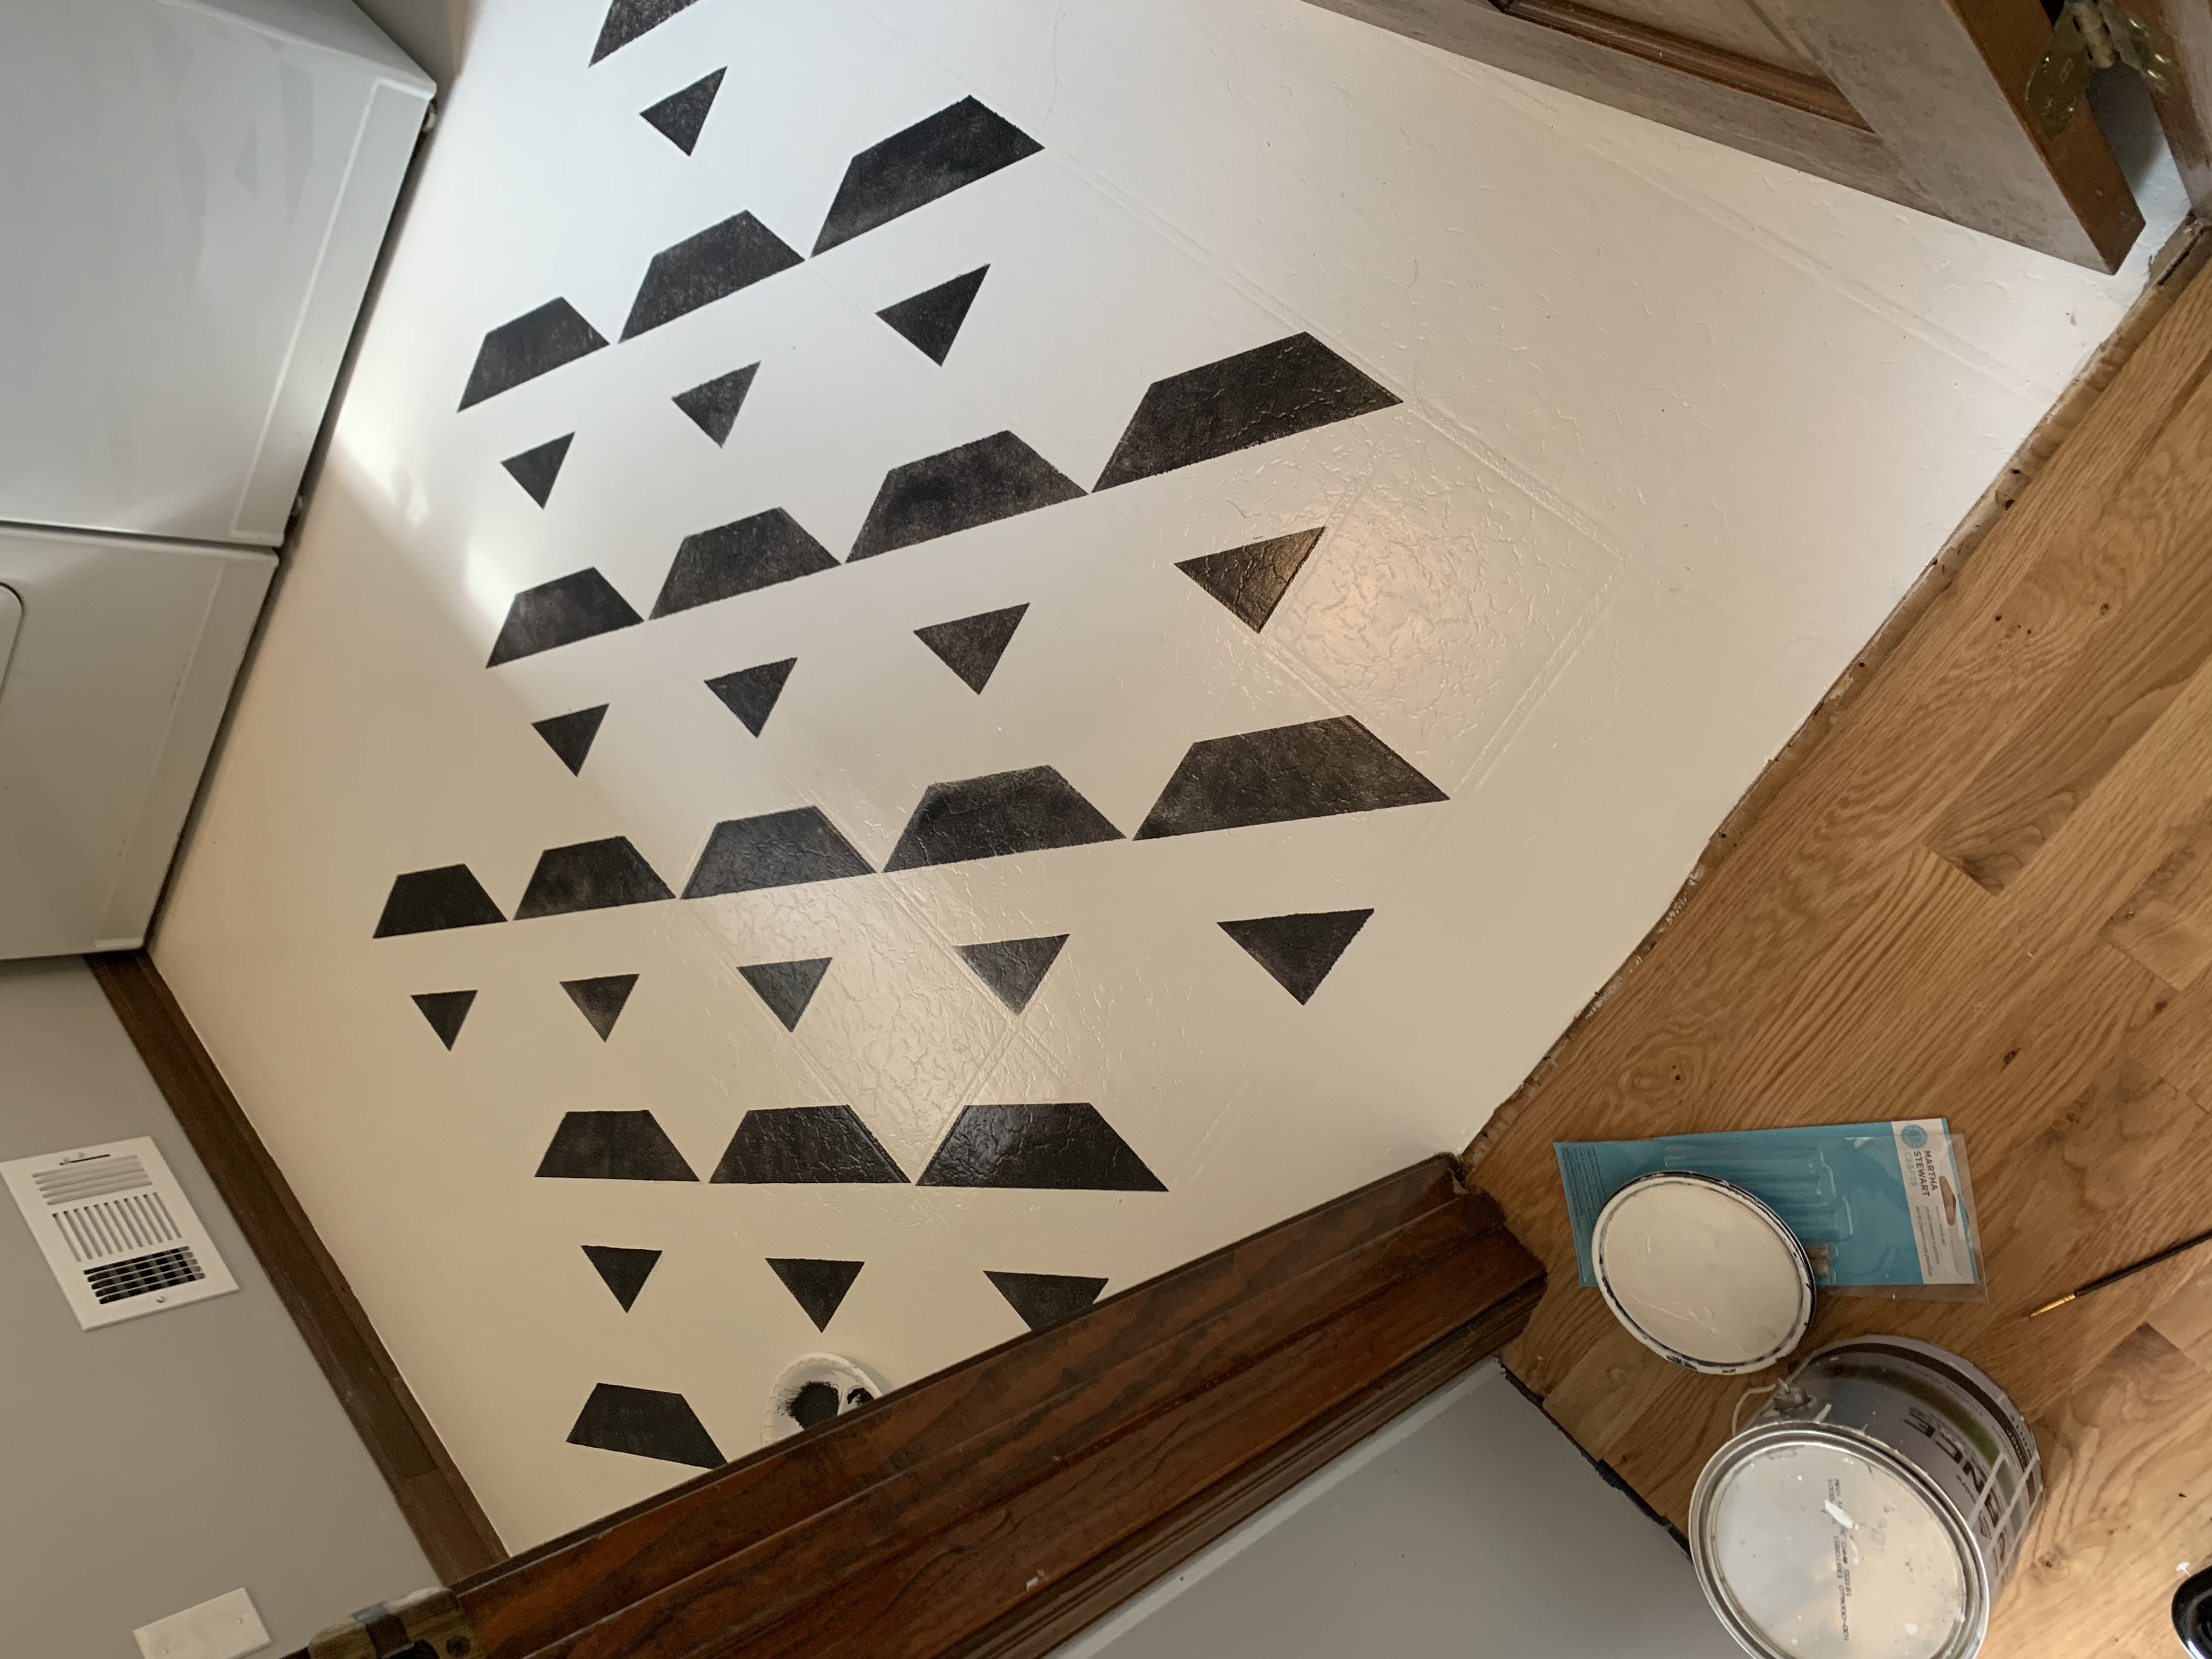
11.) After you’ve completed the full squares on one side of the stencil, now, it’s time to tackle the partial squares. Here is a video to further explain.
12.) Once you’ve completed one direction of stencil, complete the pattern by lining up the stencil with the already painted squares. This is where it can get tricky, but I also don’t want you to get discouraged. There are ways to fix the mistakes, like gaps in the pattern, or where the paint seeps under the stencil. (See step 14.) I had lots of mistakes, but they were all fixable. Remember, this is just paint!
13.) Once you complete the full sized tiles, repeat step 11 for the partial tiles.
14.) Regarding mistakes. I had lots of them. I ran the pattern the wrong way, and had several places where the tiles did not line up properly, or paint seeped underneath the stencil. This is when the Frog Tape majorly comes in handy!! The video will describe it better than my words can!
15.) You can fix the lines and gaps with the Frog Tape as much as you want to. I opted to fix the obvious mistakes, but not to go overboard. After all, it is a stencil….it’s paint, not a tile! But do as much as you would like! Here is a satisfying video of fixing my mistakes with Frog Tape. The lines end up perfect!!
16.) Once your floor paint pattern is finished, allow it to dry and cure for about 24 hours.
17.) Paint the final coat with a clear, acrylic top coat. I painted the edges with a brush and the interior with a roller. Once it’s painted, allow it to cure for a full 48 hours.
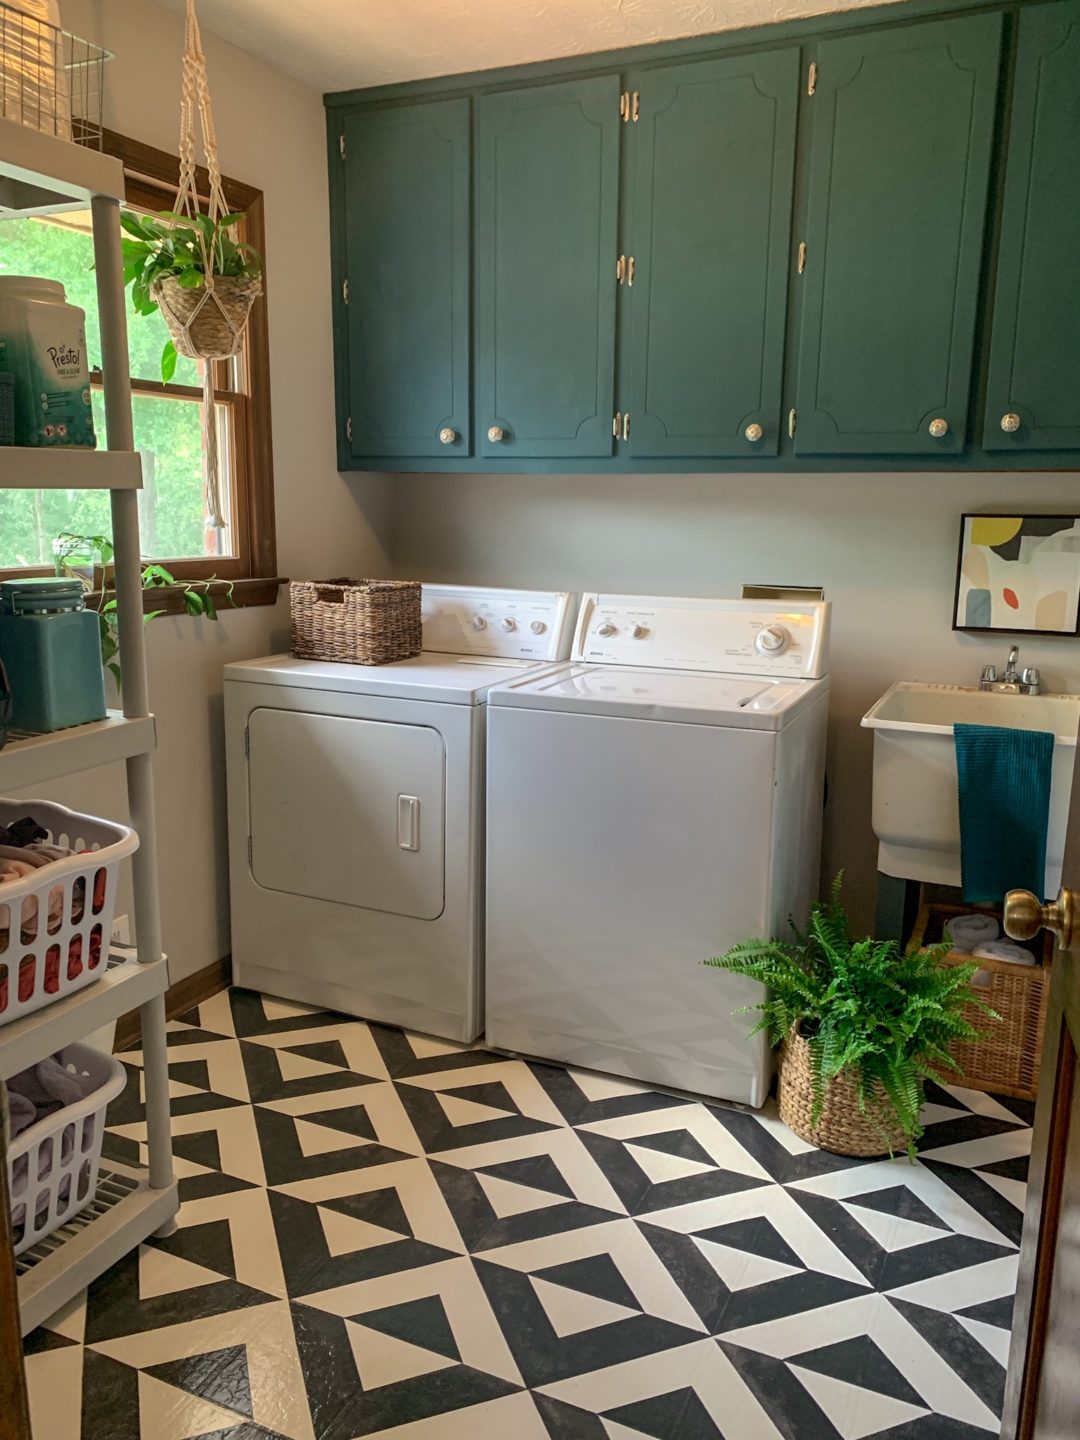
And that’s it! With a little bit of sweat equity, you can achieve a modern, fun update to your home with little financial investment.